Adobe Lightroom Basic Tutorial | My Lightroom Journey
Adobe lightroom application can enormously transform your image into something which would look more professionsl as well as increasingly appealing. So, in this post, let's dive deep into it and explore Lightroom Mobile Application. I'll be imparting my journey on to lightroom as well as some essential tips and tricks utilizing which you can upgrade your photos all the more successfully using this application. If you don't know what Lightroom is, you can find it here.
I began with lightroom in 2018. From that point forward, I have been trying and experimenting increasingly more with it and have found a few different ways to edit using this application. The following pictures illustrate my whole lightroom journey and how anyone can get started with it. Let's explore this magical world!
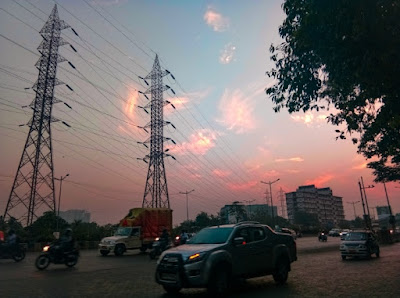
1. Basic sunset sky picture:
 |
| After |
For this picture, as I was onto beginning of learning lightroom, I opted for minimal editing. Adjusted the lighting and basic colors. Gave a little bit texture and details. That's all I did, and the difference says it all. Here are the details.
 |  |  |

2. Playing with light and shadows:
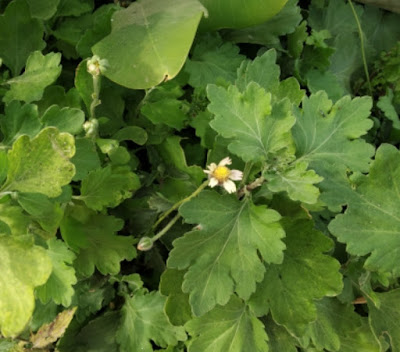
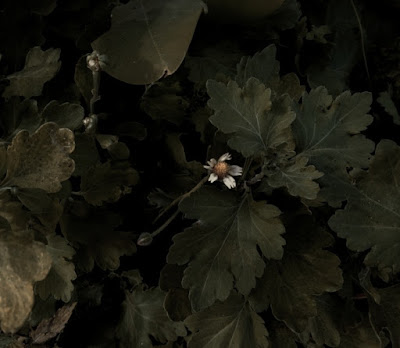
Playing with light is my most favourite when it comes to lightroom. Here are some of my lightroom edits along with their details which I used to transform basic colors to dramatic ones.
Again, in this picture, I have not at all changed colors. Just experimented with lighting and that's how it changed the picture drastically. Along with it, I have applied Vintage Profile.
 |
 |
 |
 |
 |
Here is another picture with similar editing. The best part of lightroom is that we can create presets according to our needs, due to which most of the editing effort is reduced. Once created, we can apply them to similar pictures and our new picture is ready, with zero extra efforts!
The same thing I did with this pictures! I edited the above picture, created it's preset and applied it to the below picture. See, how effortlessly this one turned out to be superb.
3. Color Pop Effect:
This technique can be used to focus on particular color scheme. Sometimes minimal color makes the picture most attractive. It enhances the details of various shades of that color. Here are few of my such edits with their details.
For this technique, after basic editing, all you have to do is to put saturation level of all other colors except your focused color to zero. Adjust shades, saturation and luminescence of your desired color to get most of it.
 |
 |
 |
Here is another example. In this below example, first I have edited a bit using Snapseed for black and white effect and then used lightroom for enhancement of eye color.
4. Into the Blues:
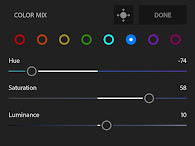
So this one is my favourite! Experiment with colors to bring best out of them. Below are my such edits which hardly required any effort to edit; but these turned out to be drastically different than the original one.
I'm really happy with the results. This one absolutely transformed day into night. Here's how I did it.
 |
 |
 |
 |
 |
 |
 |
Talking about the below picture, I reduced the temperature to take out the blues and then tried different shades.
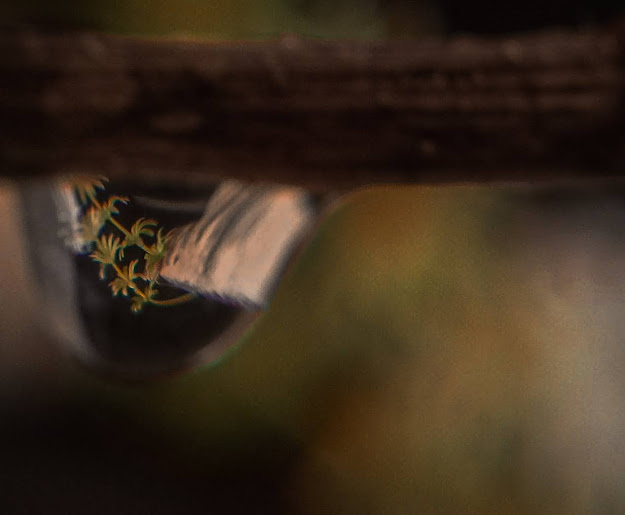
Here, I used Snapseed's healing feature to remove unwanted background and then edited using lightroom.
 |
 |
So that's how I make use of Adobe Lightroom Mobile Application in order to edit my pictures. Due to its all these features, lightroom has to be my favourite photo editing application, for sure. From beginners to pro, it is something everybody can use. So this was how my lightroom journey had been till date. There are a lot other features too, each unique in it's own way. The only thing you need to do is explore, try and keep doing. Practice is the key to success.
See you guys in my next post very soon. Do check my Instagram handle for more such pictures.





Good Job
ReplyDeleteThank You so much. I'm glad you liked it 🤗❣️
DeleteBeautiful page ☺️ Really helpful for photography and editing and so many easy tips . Love it 😊 keep posting and stay safe🥰
ReplyDeleteThanks a bunch Neeru 😊💕
DeleteGood work 👍
ReplyDeleteThank You Ashish 😊❣️
DeleteGood work 👍
ReplyDelete